This step by step guide will help you set up your first Finale campaign. Please follow the step by step instructions to get up and running with your first campaign. For deeper explanation of settings, explore next documentation.
Watch this video to set up first campaign
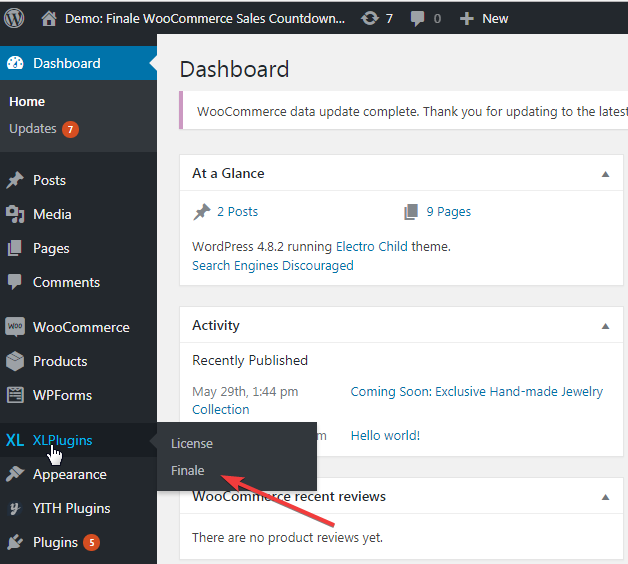
Step 1: Go to your WordPress Admin and Click on Finale tab
Step 2: Click on Add New Campaign

Step 3: Enter the title
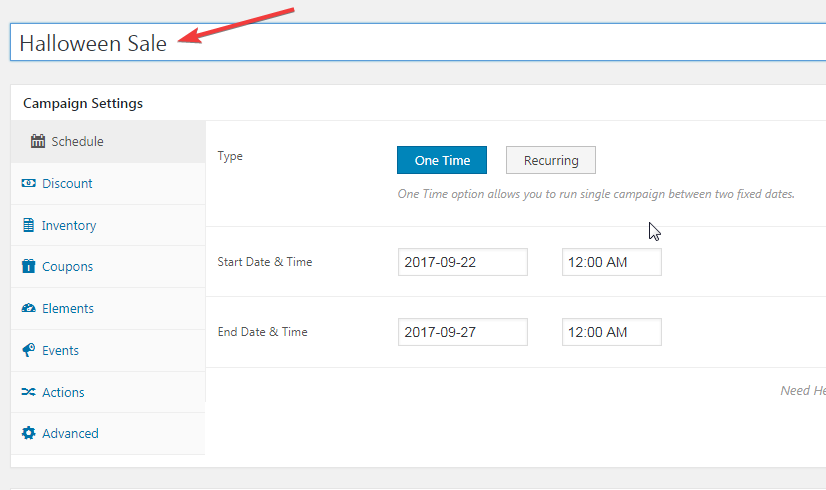
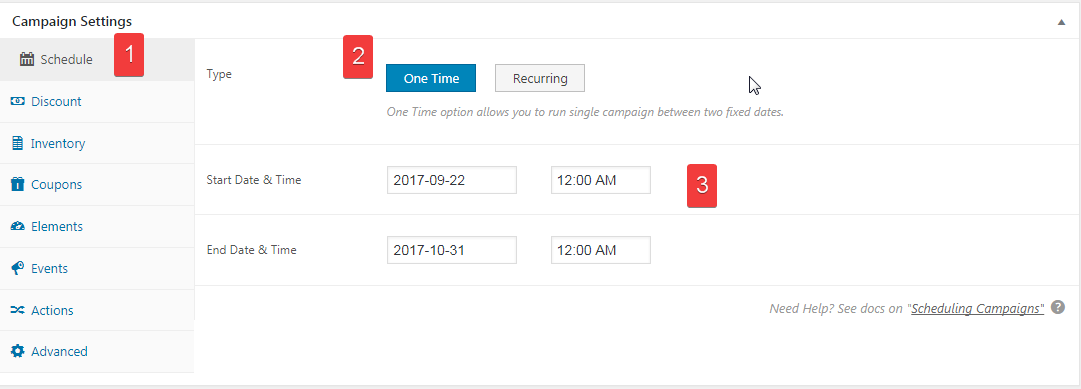
Step 4: Click on Schedule Tab, Select One Time Campaign and Enter the date for which you want to run the campaign
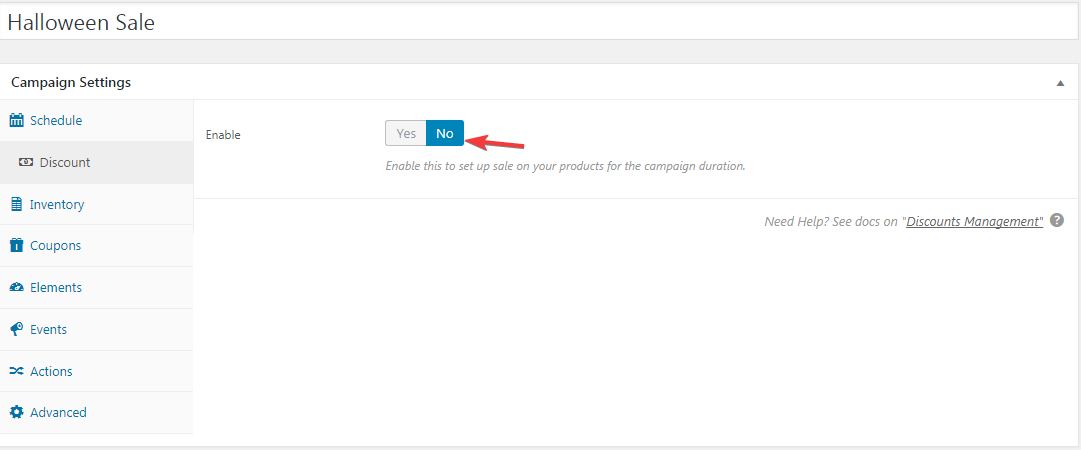
Step 5: If you want to set up Discounts, click on discounts tab and enable the discounts
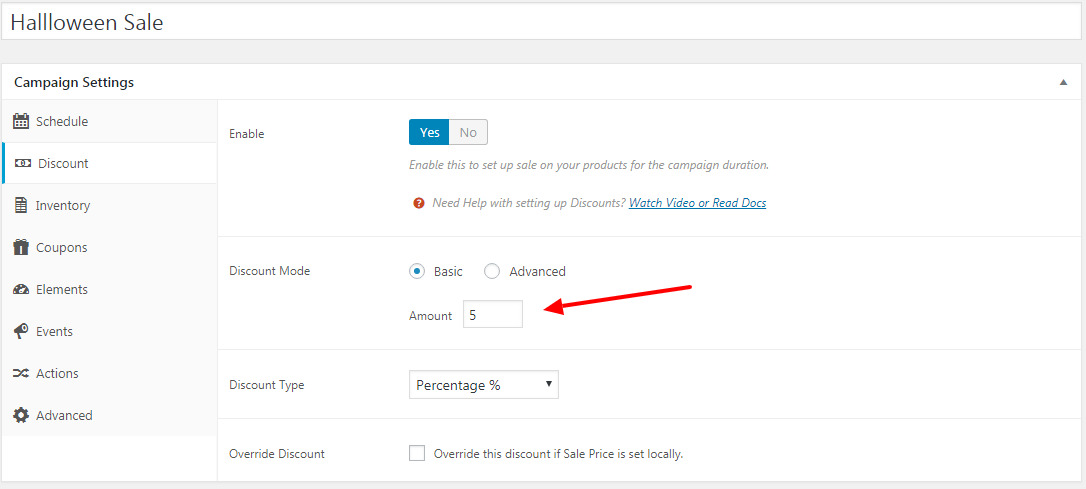
Step 6: Select Discount Mode to be basic and enter the discount amount
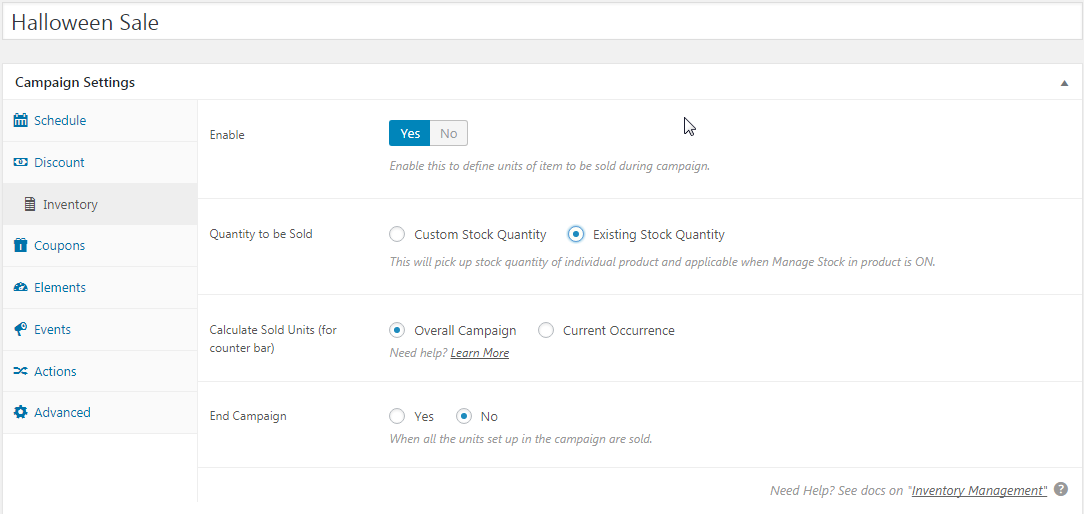
Step 7: If you want to show Counter Bar turn ON the inventory and keep these settings
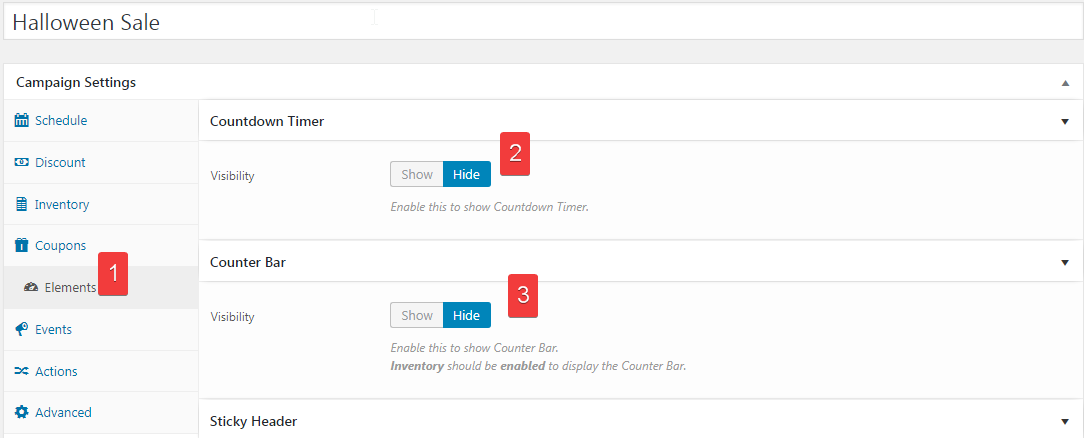
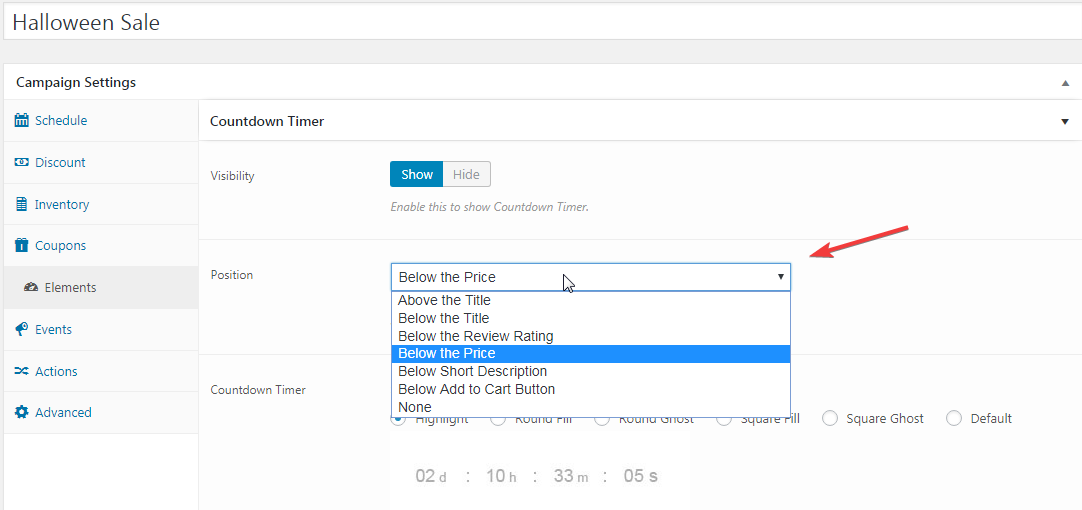
Step 8: Head over to Elements and change the visibility of Countdown Timer and Counter Bar from Hide to Show
Step 9: Adjust the position from where you want to show the Elements enabled in Step 8
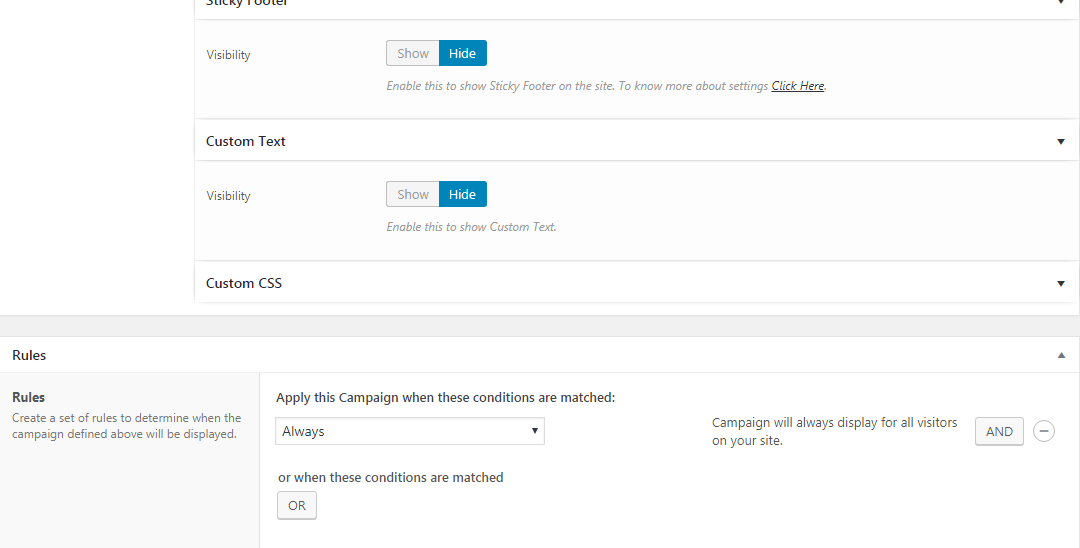
Step 10: This is optional. Scroll to the bottom, and you would find Rule Builder
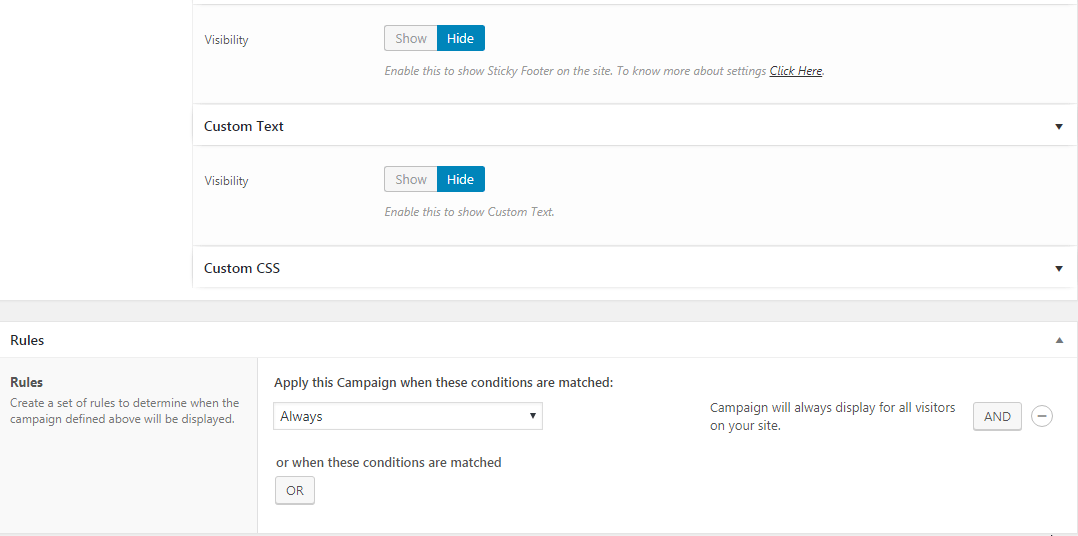
You can set up a variety of Rules where this campaign would show. For instance, if you want to limit this campaign to selected products you can do it.
Refer to the image below
Step 11: Hit Publish Button

Step 12: In Quick View, You would find various setting you have turned ON in this campaign
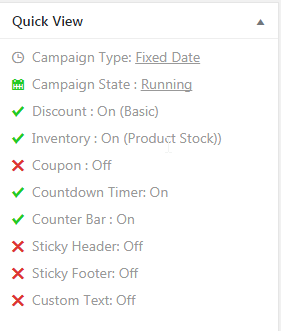
Step 13: Ensure that your campaign is “Running.”

Step 14: Check on Frontend of the products and countdown timer and counter bar will show up

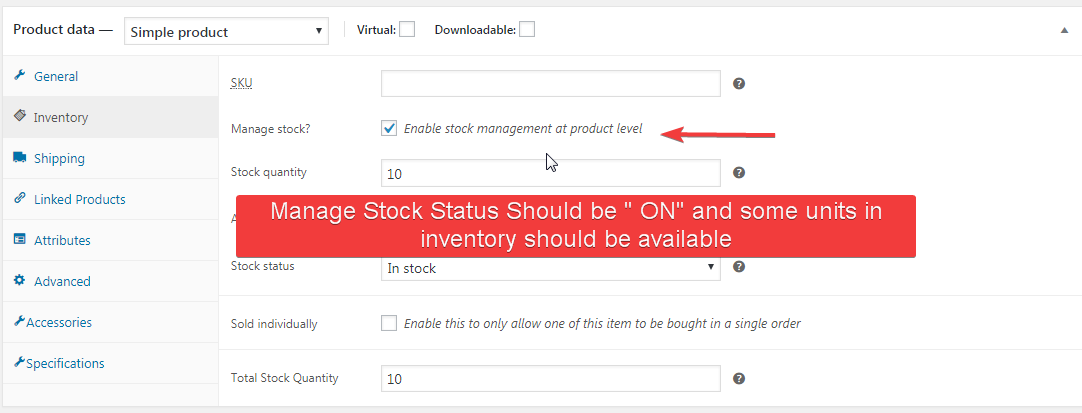
Note: Sometime Counter Bar does not show up, check Inventory settings of the single product.
Manage Inventory should be ON and some units in stock should be available for Counter to display