Step By Step Guide to Setting Up Finale Deal Pages
Once you purchase Finale PRO or Elite version. Login to your XL Plugins account and separate addon will be available for Finale Deal Pages.
Finale Deal Pages is available on middle or higher plans.
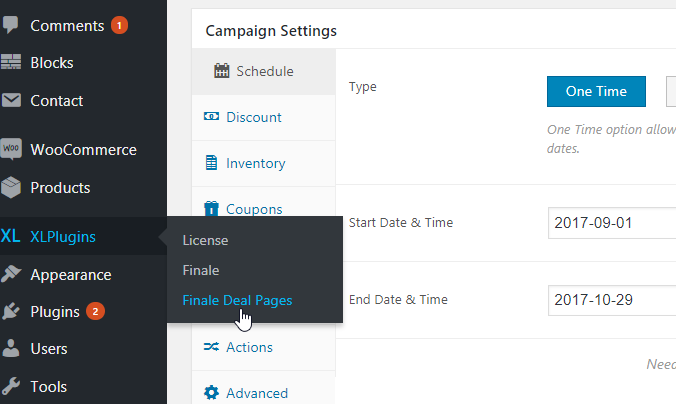
Step #1: Select Finale Deal Pages from the main menu
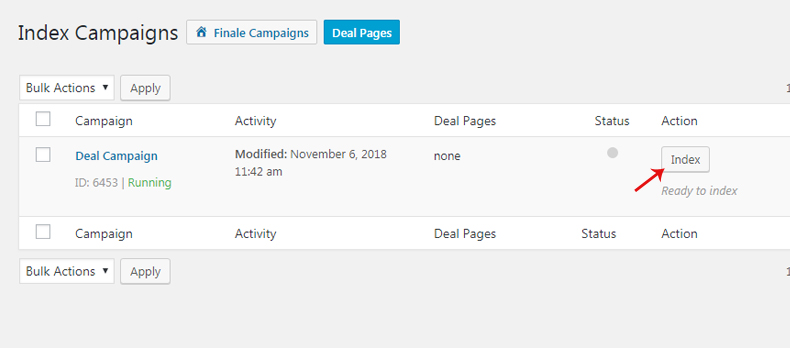
Step #2: Index the campaign
To list all the discounted products on a single page, you’ve got to index the campaign first.
Indexing runs a background process and associate products with the campaigns.
This is done to optimize the query to all the load products for a particular campaign.
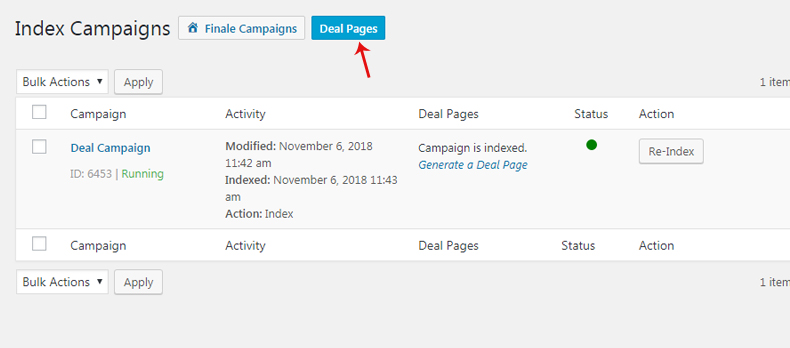
Step #3: Once you have indexed the campaigns click on “Deal Pages” button at the top.
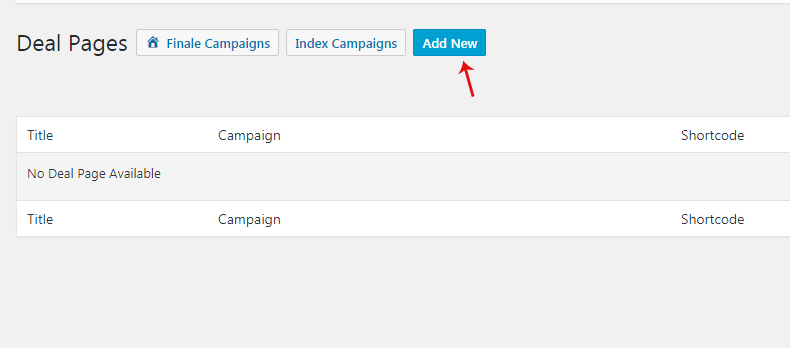
Step #4: View the existing generated shortcodes or “Add New”
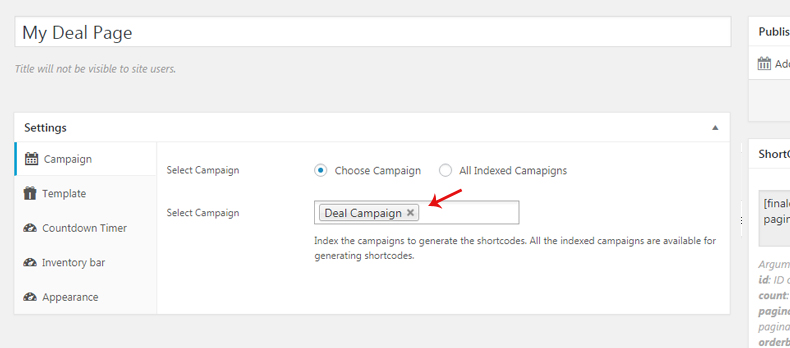
Step #4: Select the campaign name from the drop down
After the campaign is indexed, it will start appearing the drop down. Choose the specific campaign you created:
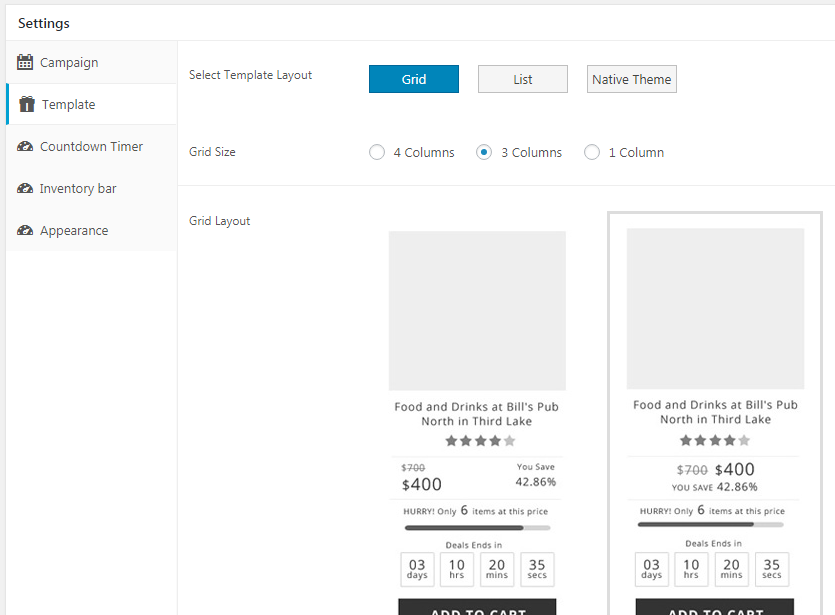
Step #5: Choose the display format from ‘List’ and ‘Grid’ for your deals
This is where you select how you would like to display all the deals on a single page.

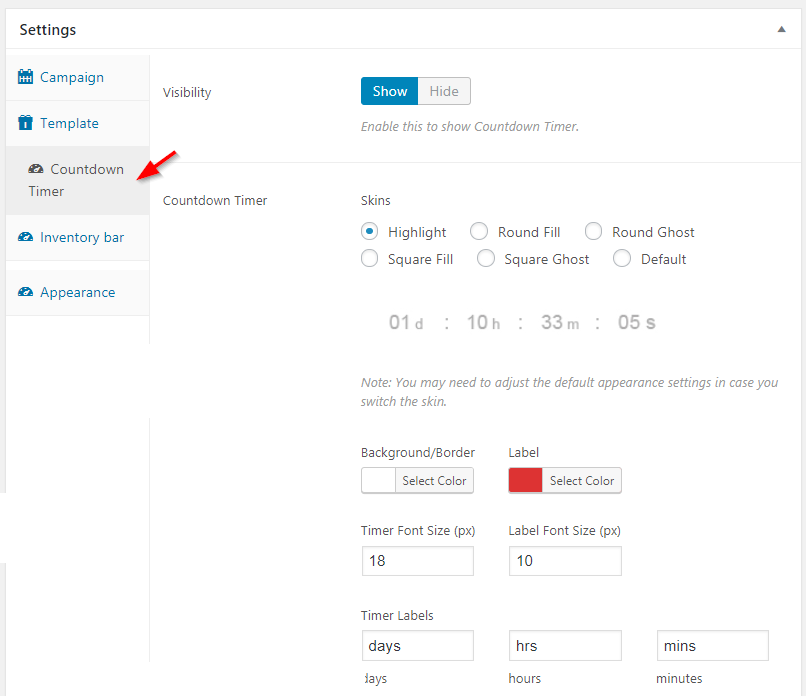
Step #6: Want to show a countdown timer on the deal page? Configure it.
Click on the ‘Countdown Timer’ option on the menu on the side and configure all the options:
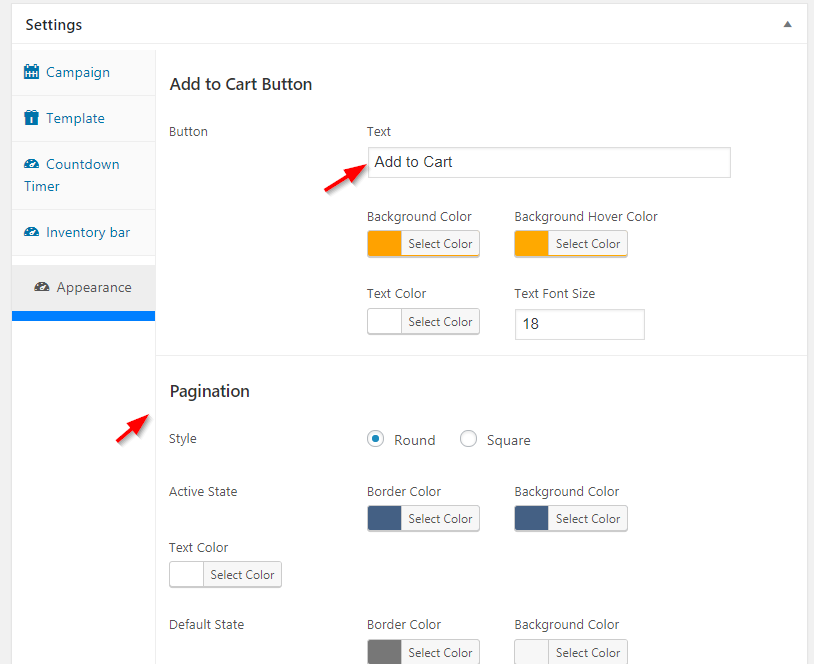
Step #7: Set up the appearance ( Add to Cart button, Pagination and Other) for the deal page

Step #8: Grab the campaign shortcode and paste it on a new page
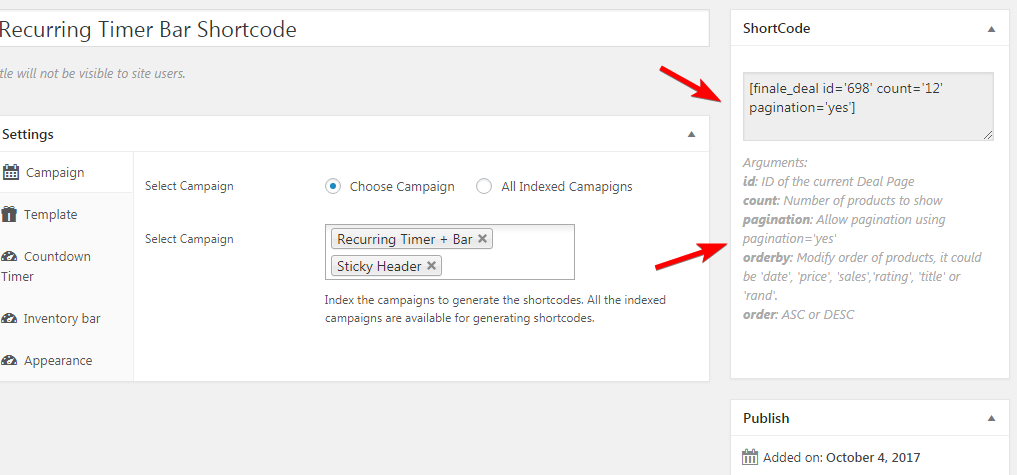
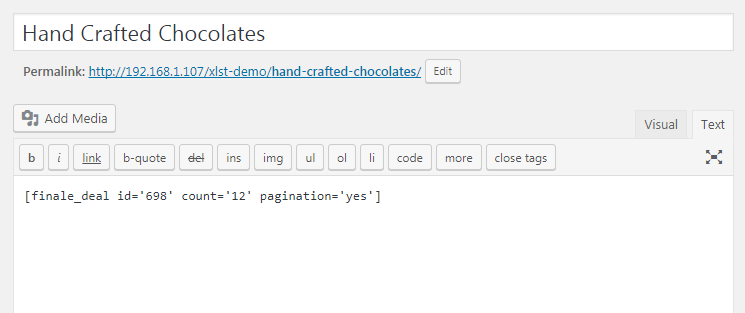
Step #9: Create a new page and paste this shortcode
After you have followed the steps , this is how Deal Pages will appear